
Commercial Roof Flashing Failure Repair in New Haven, CT
Commercial Roof Flashing Failure Repair
Repair commercial roof flashing in New Haven by tracing the water path, checking adjacent materials, and defining a clear repair boundary.
A flashing failure is a break in the roof's transition, not simply an opening to cover with sealant. New Haven's repeated winter freezing makes joints at walls, curbs, drains, and roof edges worth reviewing before moisture moves below the assembly. We identify the material, trace the water path, and define a repair that reconnects the layers to sound roofing.
Branford includes healthcare, bioscience, manufacturing, and retail in its commercial mix, while Wallingford includes metal, plastics, and hardware production. That regional building context helps frame access and trade coordination; each flashing detail still requires direct examination before a scope is set.
Find the transition that has opened
Flashing can fail where a roof meets a wall, curb, pipe, skylight, parapet, or drain. We inspect the overlap, attachment, termination, counterflashing, and surrounding membrane, then compare the visible condition with interior leak reports. A stain may appear away from the opening, so the report marks both the reported room and the roof detail that evidence supports.
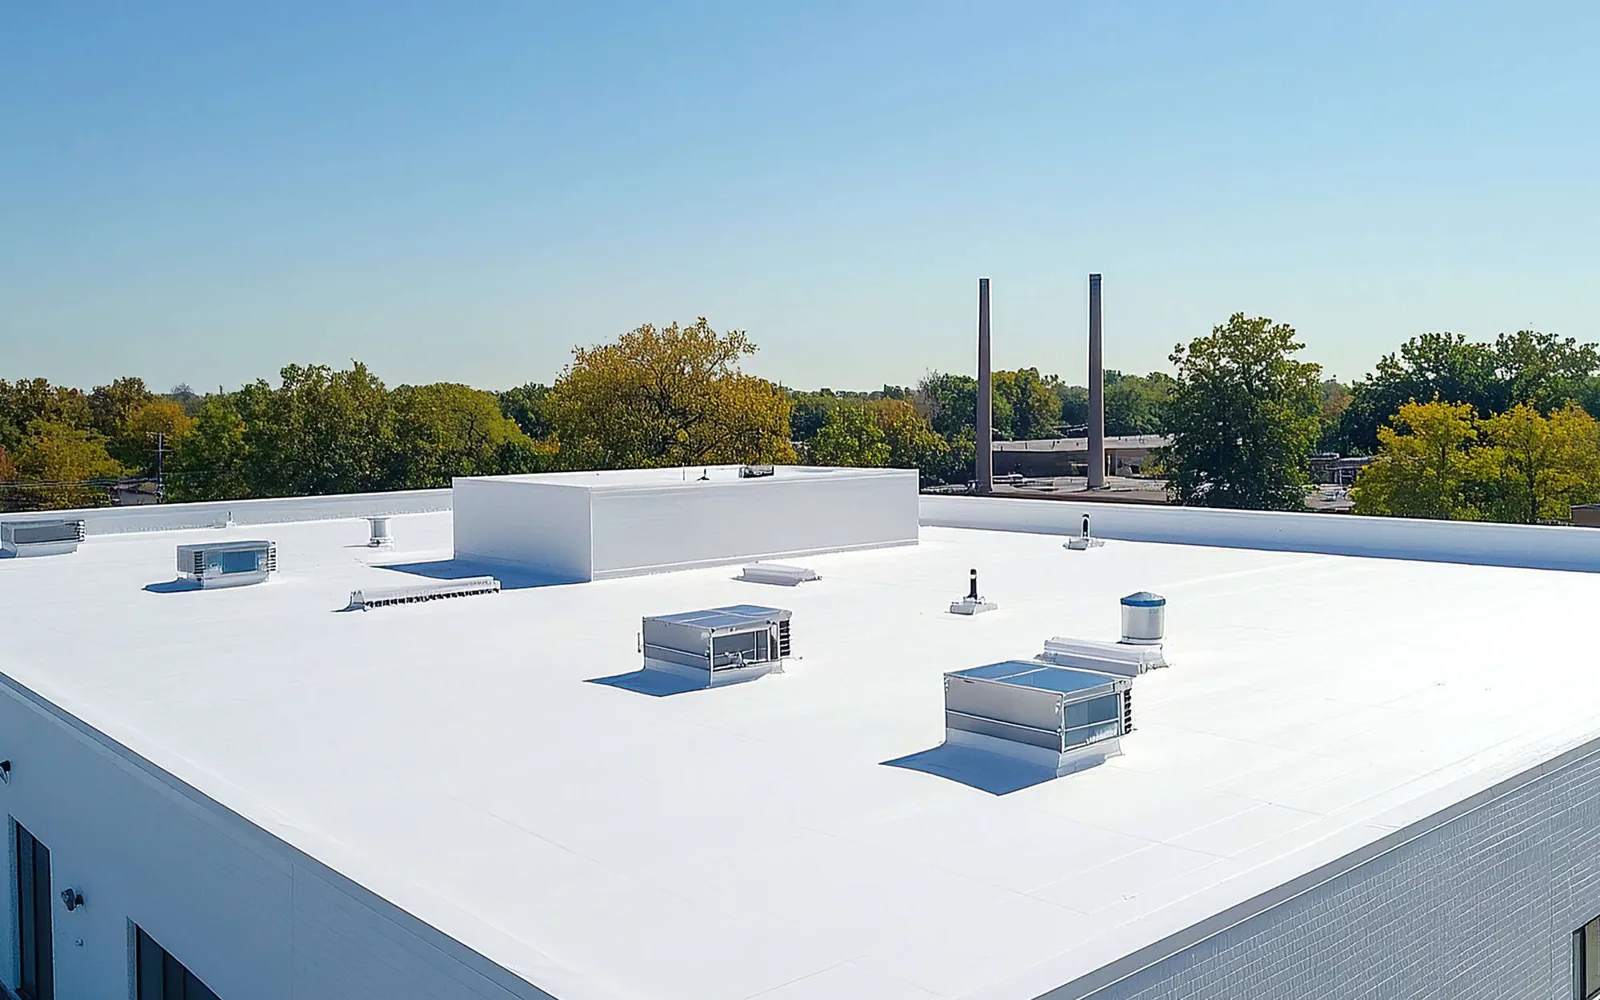
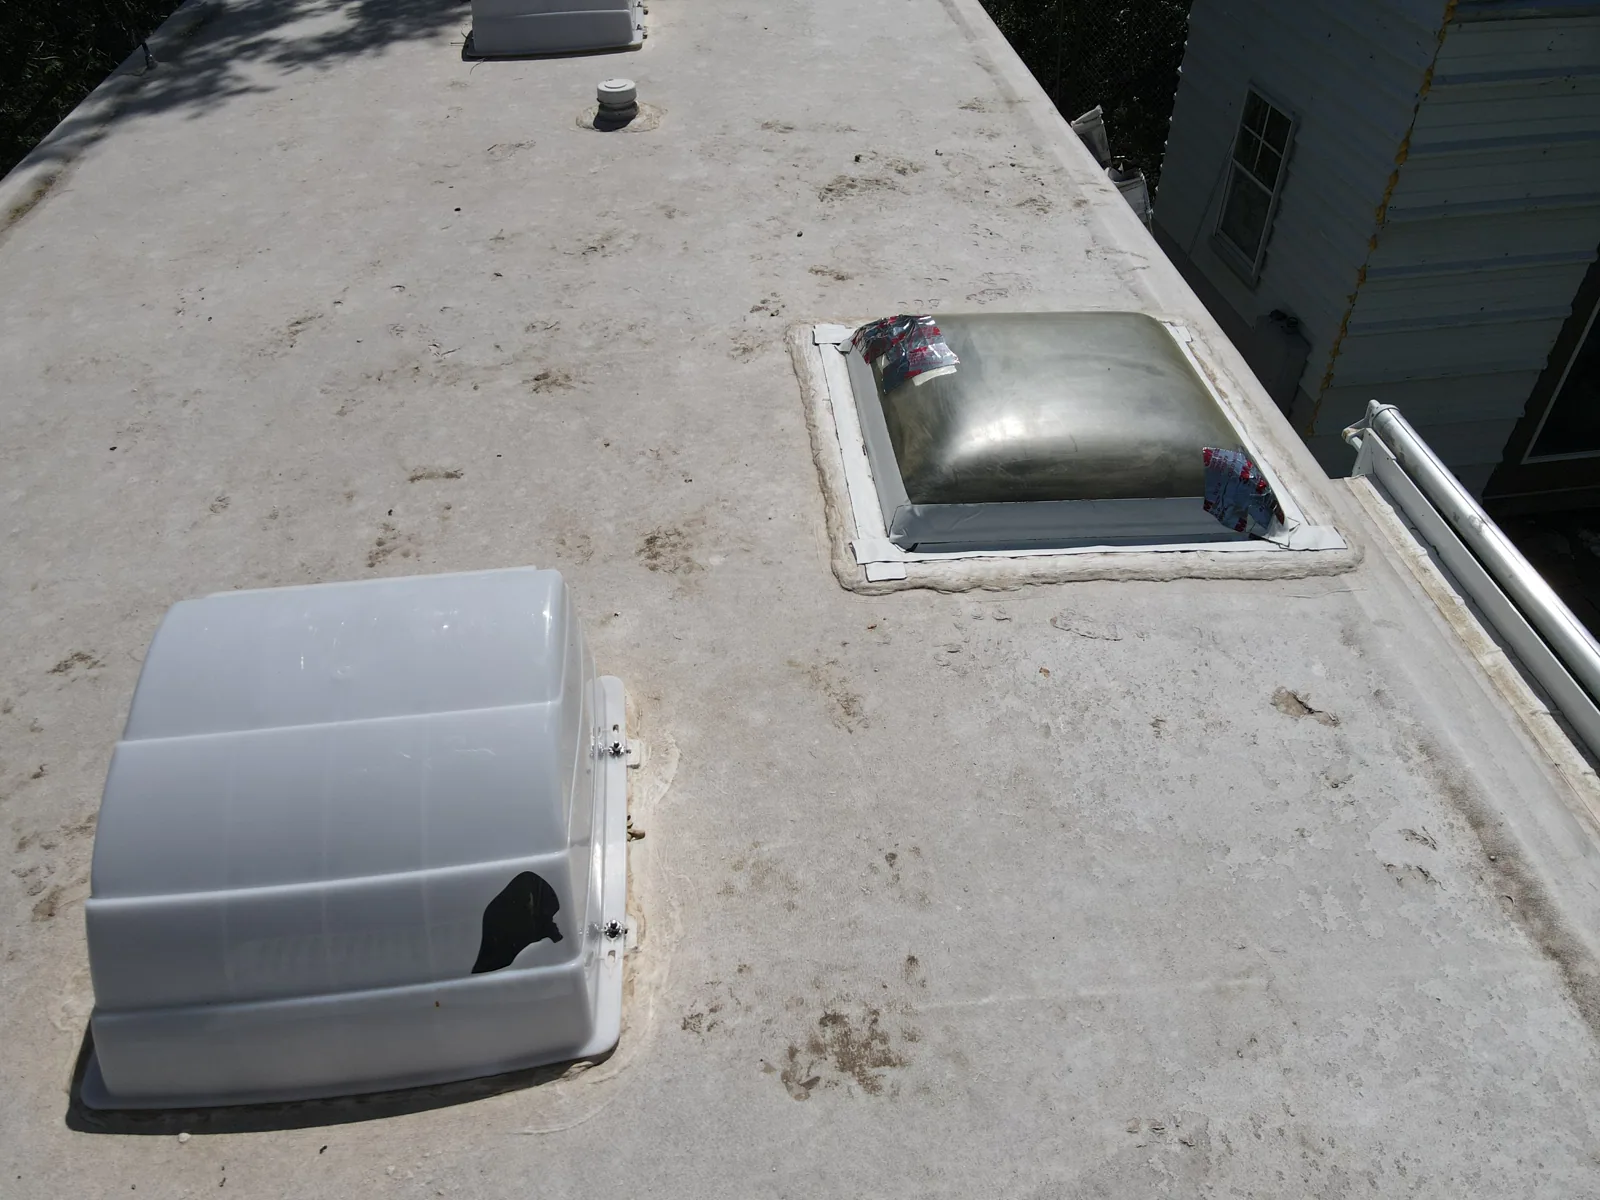
At metal walls, we check whether counterflashing remains secure and sheds water over the roof membrane. At equipment curbs, we look for split corners, loose base flashing, exposed fasteners, and sealant that has separated from the substrate. A skylight transition review or curb assessment can make those interfaces visible in the scope.
Roof-to-wall joints may include masonry, metal panels, or a parapet cap. We record which layer overlaps the next and whether water has a path behind the outer surface. That detail matters when the repair must preserve both the roof and the wall finish.
Account for movement and material compatibility
Metal, membrane, masonry, and equipment do not move at the same rate. A rigid seal at a moving joint may split again, while a patch made for the wrong membrane may release at the edge. We identify the materials and movement path before selecting a repair method. Where the detail is concealed, we state what access or opening is needed.
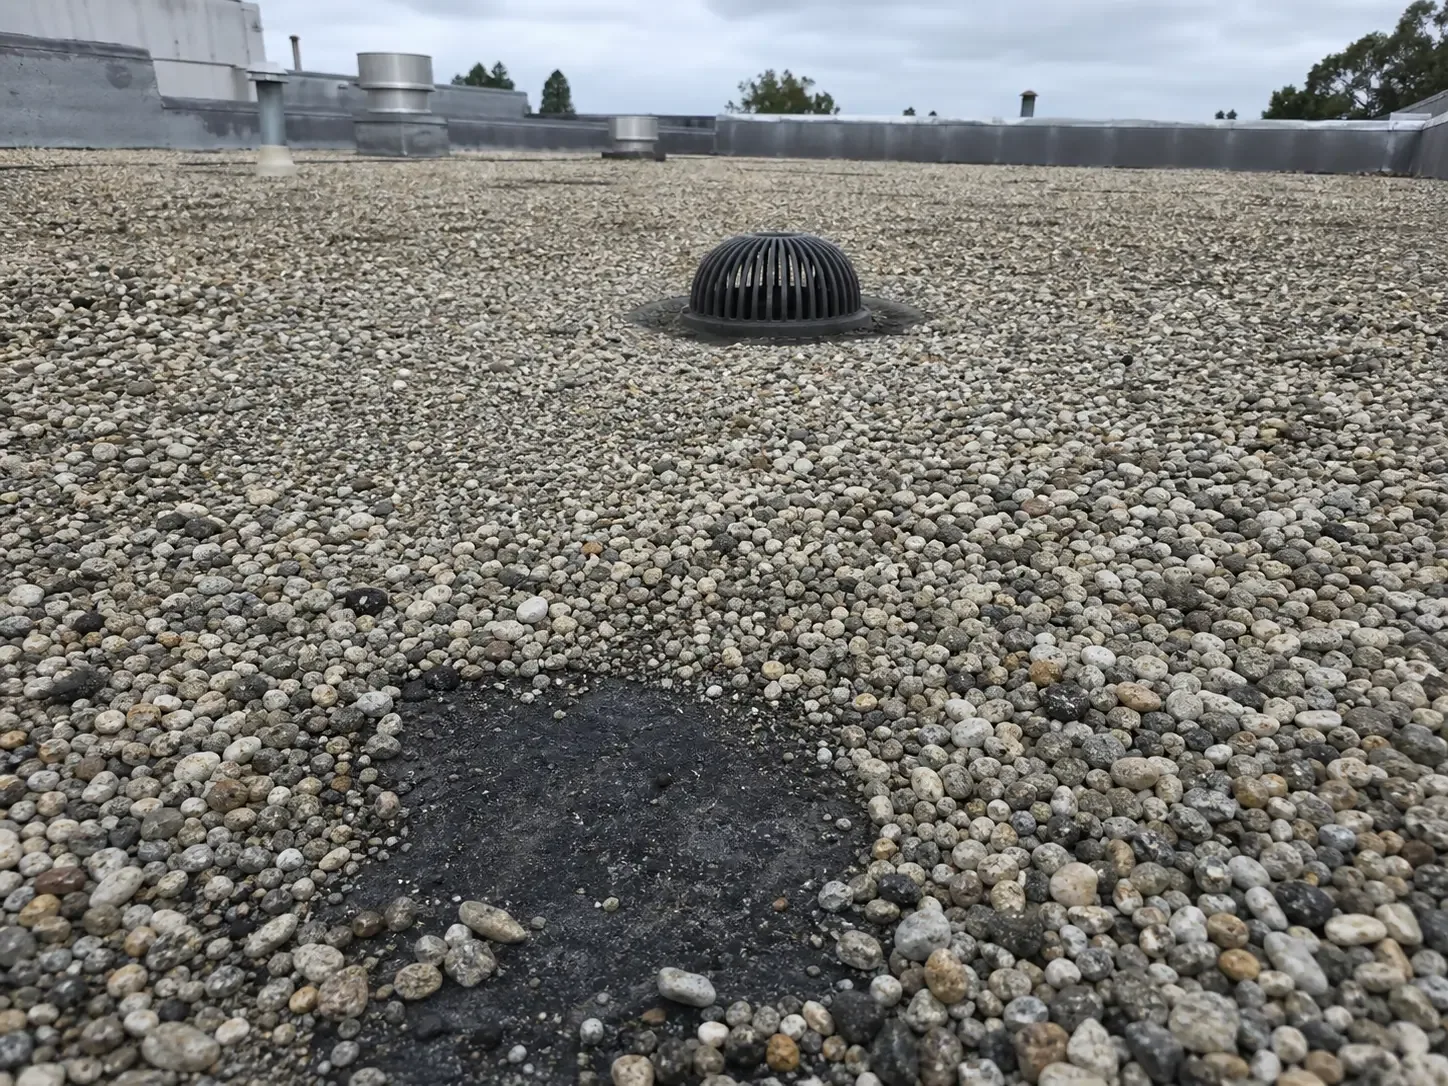
New Haven's freeze-thaw exposure puts flashing joints on the seasonal inspection list. We look for cracking, lifted corners, pulled fasteners, rust, and moisture marks, then record which condition needs repair or follow-up. If water sits nearby, ponding-water review can separate drainage from the failed transition.
Build a repair that returns water to the roof
A permanent flashing repair begins by removing material that cannot support a bond or attachment. We prepare the substrate, install compatible flashing, secure its termination, and tie the detail into adjacent roof layers. The repair boundary should extend to sound material, while still avoiding unnecessary disturbance to intact roofing.
On a membrane assembly, we check that the new flashing connects to the field membrane and that corners are properly formed. On metal, the repair may require a replacement counterflashing or a new overlap that allows movement. We record the selected method and any surface limitation. A seam failure repair addresses an open field joint, which may need a different preparation from a wall or curb transition.
Sealant may be part of a detail, but it does not replace secure attachment or correct overlap. We identify where sealant is appropriate and where mechanical fastening, membrane welding, or formed metal provides the primary water-shedding connection. The proposal should show how the layers meet rather than list a generic “flashing repair” without a defined location.
Where a flashing cannot be reached safely from the roof, we note the lift, scaffold, or other access needed. If another trade must move equipment or remove a finish, the scope identifies that responsibility before the roof is opened. These planning details can affect labor and timing as much as the amount of membrane or metal involved.
What changes scope and timing
Repair cost depends on how far the failure extends, whether adjacent material is sound, the height and access of the transition, and whether equipment must be moved. A corner detail may take more careful forming than a straight curb, while a wall assembly may require separate work above the roof line. We describe those factors in the estimate without treating every flashing leak as the same repair.
Material lead time can change the schedule if a formed metal profile or compatible membrane is not immediately available. We identify the temporary measure required while that material is procured and confirm whether another trade must open the area. A clear sequence prevents a temporary seal from being counted as permanent work and helps the general contractor coordinate return access.
For a leak that remains active, emergency response can limit interior exposure while a permanent scope is prepared. If several transitions show similar deterioration, a roof inspection can map the condition across the assembly. A leak investigation can locate the entry point before the crew expands the repair beyond visible evidence.
Keep the repaired detail traceable
We close out the work with photographs showing the repaired transition, its relation to nearby roof features, and any adjacent condition left for monitoring. The record names the material, repair boundary, access limitations, and follow-up item. This helps a future contractor check the same corner or curb without mistaking a nearby seam for the prior repair.
Branford's health and bioscience activity and Wallingford's industrial production show a varied commercial environment around New Haven, but roof files should remain specific to the building. Branford-area service planning and Wallingford access may differ by site. Keep invoices, roof plans, leak dates, and repair images together for the next condition review.
A written repair threshold can state when the owner should request another examination, such as after nearby equipment work or a second leak at the same joint. We can include that trigger in the closeout notes, along with any approval needed before a larger replacement decision. The record should make the next step easy to identify without promising a leak-free result.
Questions Owners Ask
Can new sealant fix a flashing leak permanently?
Sealant may be part of a sound detail, but it will not correct loose attachment, missing overlap, or a damaged substrate. We inspect the layers and movement at the transition, then choose a method that restores the connection. The repair record states where sealant was used and what supports the flashing.
How do you confirm which flashing detail is leaking?
We compare interior reports with roof geometry, inspect nearby seams and penetrations, and look for a continuous path into the assembly. Photographs document the likely entry and any area that remains uncertain. If evidence is concealed, we identify a test or opening before setting a permanent repair boundary.
Do all flashing repairs require removing the membrane?
Not always. The needed preparation depends on the roof system, condition of the existing material, and how the flashing was attached. We describe whether a local tie-in is feasible or whether removal is needed to reach sound substrate and connect the layers correctly.
Can an equipment curb stay in place during flashing work?
Often the curb remains, but clearances, attached equipment, and the repair detail determine the sequence. We coordinate with the mechanical contact before moving or disconnecting a unit. The proposal identifies any trade work required to expose or restore the flashing around it.
What information should go into a flashing repair closeout?
Include location, roof material, photographs, repair limits, preparation, and any adjacent condition left open. We note access restrictions and what change should trigger follow-up. That record lets maintenance staff find the same transition and compare it with the next leak report.